In the world of outdoor cooking, few tools are as versatile and beloved as the Dutch oven. Whether you’re camping in the wilderness or just looking to add some rustic charm to your backyard barbecue, Dutch ovens are a must-have. In this article, we’ll explore the art of Dutch oven cooking, sharing a collection of campfire recipes that will delight your taste buds and make you the hero of the campsite.
The Versatile Dutch Oven
What is a Dutch Oven?
First, let’s start with the basics. A Dutch oven is a heavy, cast-iron cooking pot with a tight-fitting lid. It’s known for its excellent heat retention and even distribution, making it perfect for campfire cooking.
Why Choose a Dutch Oven?
Choosing a Dutch oven for your cooking adventures, whether in the great outdoors or your backyard, is a decision that comes with numerous benefits. Dutch ovens are revered for their versatility and durability, making them a favorite among campfire chefs and home cooks alike. Here’s why you should consider choosing a Dutch oven:
- Exceptional Heat Retention: Dutch ovens are typically made of heavy cast iron. This material’s excellent heat retention ensures even cooking, making it perfect for slow cooking, roasting, and baking. The heavy lid traps heat and moisture, creating a mini-oven effect that produces tender and flavorful dishes.
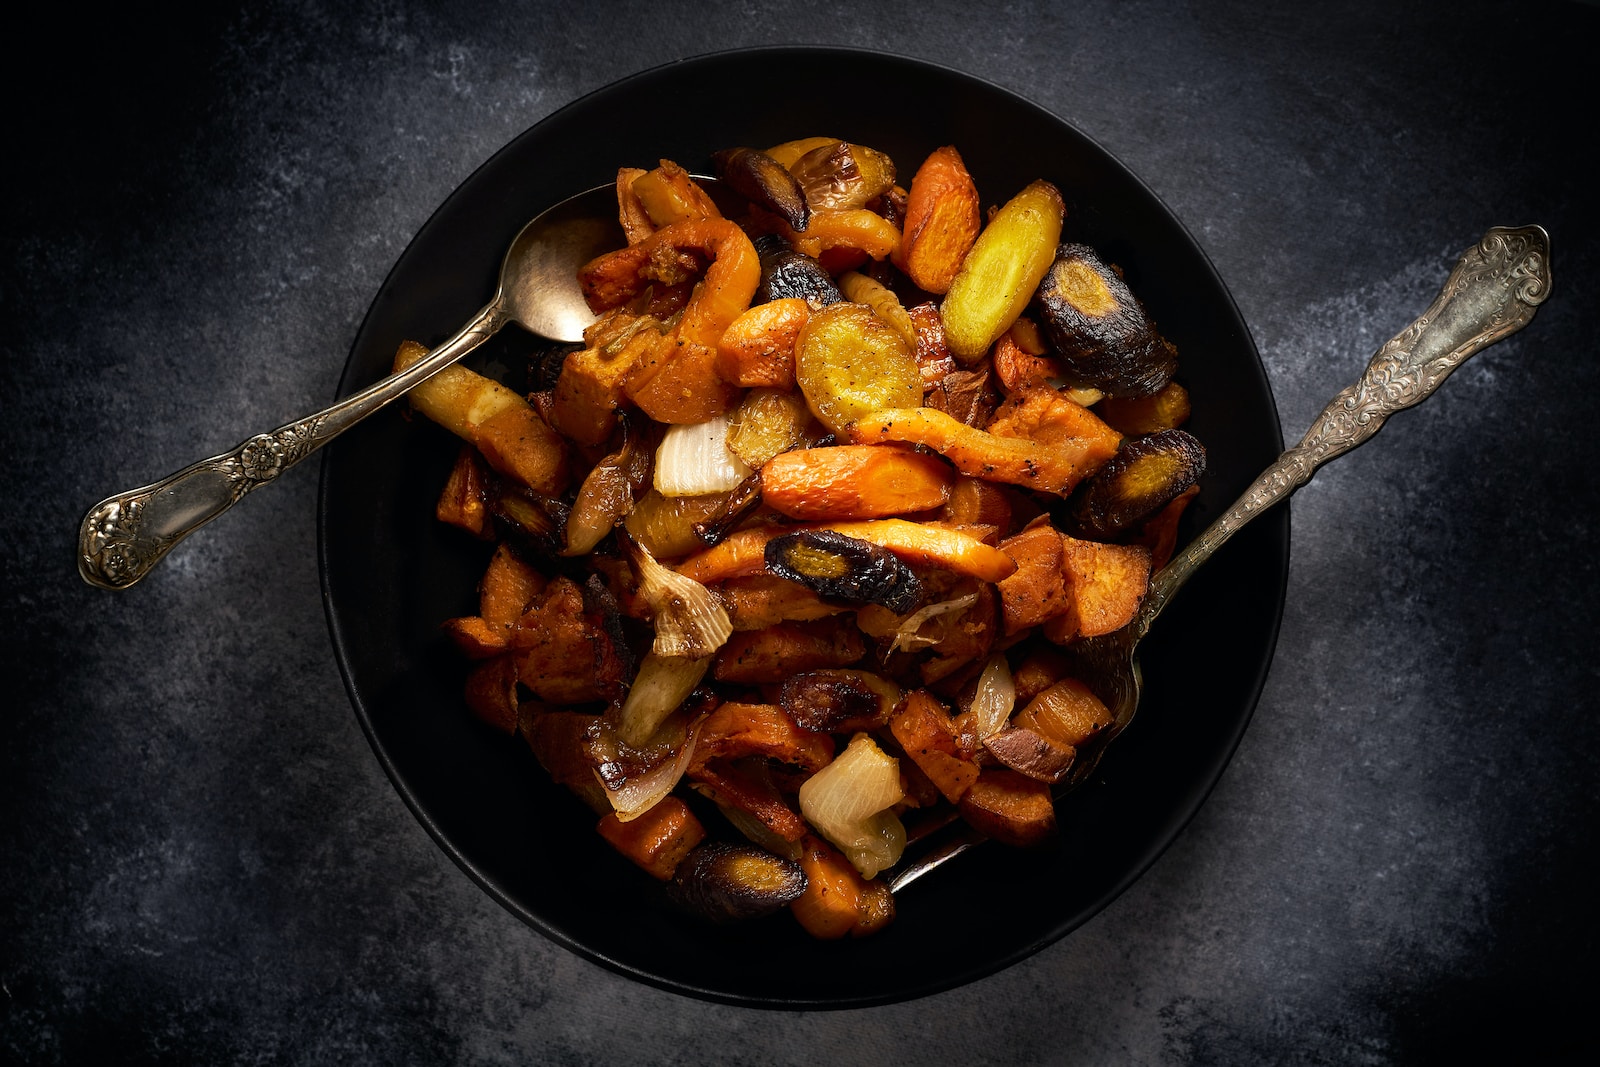
- Versatility: Dutch ovens are incredibly versatile. They can be used for a wide range of cooking methods, from baking bread to simmering stews, frying, sautéing, and even making desserts. This versatility means you can prepare an entire meal with just one pot.
- Durable and Long-Lasting: A well-cared-for Dutch oven can last for generations. Its robust construction can withstand the rigors of campfire cooking and maintain its quality over time. Many Dutch ovens come pre-seasoned, and with proper care, they become more non-stick with use.
- Easy to Clean: Despite their rugged appearance, Dutch ovens are relatively easy to clean. The seasoning process creates a natural non-stick surface, and many models are designed for simple maintenance. Plus, they don’t require soap, which can strip away the seasoning.
- Indoor and Outdoor Use: Dutch ovens are not limited to campfire cooking. They can be used on a variety of heat sources, including stovetops, ovens, and even grills. This means you can enjoy Dutch oven cooking in the comfort of your kitchen or out in the wilderness.
- Perfect for One-Pot Meals: Dutch ovens are excellent for making one-pot meals. Whether you’re cooking a hearty stew, a pot of chili, or a casserole, the Dutch oven’s size and even heat distribution make it an ideal choice for these dishes.
- Preserve Nutrients and Flavors: The tight-fitting lid of a Dutch oven locks in moisture and flavors. This helps preserve the nutrients in your food and creates rich, aromatic dishes.
- Enhances Outdoor Cooking: Dutch ovens are a must-have for campfire cooking enthusiasts. Their ability to replicate the results of an oven in an outdoor setting allows you to enjoy delicious, home-cooked meals in the wilderness.
- Cooking Tradition: Dutch ovens have a rich history and tradition, dating back centuries. Using one connects you to a culinary heritage that spans cultures and generations.
- Economical: Investing in a good-quality Dutch oven can save you money in the long run. It eliminates the need for multiple pots and pans and allows you to create delicious, cost-effective meals.
In summary, a Dutch oven is a valuable addition to any kitchen or campsite. Its exceptional heat retention, versatility, durability, and ease of use make it a cooking essential that enables you to create memorable meals, whether you’re cooking at home or under the open sky.
Essential Dutch Oven Cooking Techniques
Seasoning Your Dutch Oven
https://www.britannica.com/topic/Dutch-language
Learn the importance of seasoning your Dutch oven before use, ensuring it remains non-stick and in great condition for years to come.
Setting up the Campfire
Understanding the ideal campfire setup for Dutch oven cooking is crucial. We’ll guide you through creating the perfect cooking environment.
Temperature Control
Controlling the temperature when cooking with a Dutch oven is crucial to achieving the best results. Dutch ovens are versatile tools, but they require some finesse when it comes to managing the heat, especially in a campfire setting. Here are some tips on how to control the temperature when cooking with a Dutch oven:
- Understand the Heat Zones:
- In campfire cooking, you can control the temperature by managing the number of coals placed beneath and on top of the Dutch oven. More coals mean higher heat, while fewer coals result in lower heat.
- Using the 1:3 Ratio:
- A common rule of thumb is the 1:3 ratio. For even cooking, place one-third of the coals beneath the Dutch oven and two-thirds on top. This creates a balanced heat distribution.
- Adjust the Coals:
- If you need to increase the temperature, add a few more coals on top of the Dutch oven. Conversely, if you need to reduce the heat, remove some of the coals from the lid.
- Rotate the Dutch Oven:
- To ensure even cooking, rotate the Dutch oven and lid every 15-20 minutes. This prevents hot spots and ensures that your food cooks uniformly.
- Check the Cooking Progress:
- Periodically check the food’s progress. Lift the lid carefully to avoid ash falling into your meal. Use a thermometer to monitor the internal temperature of your dish, especially for meats.
- Use the Lid Lifter:
- A lid lifter is a handy tool for safely handling the hot lid. It allows you to check your food without disturbing the coals too much.
- Practice Patience:
- Dutch oven cooking requires patience. It’s better to start with fewer coals and add more if needed. You can’t easily undo overcooking, so err on the side of caution.
- Adjusting the Ventilation:
- Some Dutch oven lids have a small hole or vent. You can adjust the temperature slightly by opening or closing this vent. A closed vent retains more heat.
- Use a Trivet:
- Placing a trivet or rack at the bottom of the Dutch oven can help control the distance between the heat source and your dish. This can be especially useful for baking.
- Practice Makes Perfect:
- Temperature control with a Dutch oven is a skill that improves with practice. Experiment with different recipes and fire setups to get a feel for how to achieve the desired temperature for your specific dish.
Remember that Dutch oven cooking over a campfire requires some trial and error. It may take a few attempts to master the art of temperature control, but the delicious meals you create will be well worth the effort. Whether making savory stews or sweet desserts, a well-controlled Dutch oven can be the key to culinary success in the great outdoors.
Campfire Breakfast Delights
Dutch Oven Breakfast Casserole
Start your day with a hearty breakfast casserole filled with eggs, sausage, and vegetables. It’s a crowd-pleaser and a great way to kick off your camping adventure.
Cinnamon Roll Delight
Please be sure to surprise your campmates with the mouthwatering aroma of cinnamon rolls prepared right at the campsite. We’ll show you how to make the dough from scratch.
Lunchtime Favorites
Campfire Chili
Savor the smoky flavor of campfire chili. It’s a one-pot wonder, and you can customize the heat level to your liking.
Dutch Oven Pizza
Ingredients:
For the Pizza Dough:
- 2 1/4 teaspoons (1 packet) active dry yeast
- 1 teaspoon sugar
- 1 cup warm water
- 2 1/2 cups all-purpose flour
- 2 tablespoons olive oil
- 1 teaspoon salt
For the Pizza Toppings (Customize to Your Liking):
- 1 cup pizza sauce
- 2 cups shredded mozzarella cheese
- Your favorite pizza toppings (pepperoni, bell peppers, mushrooms, onions, etc.)
Instructions:
- Prepare Your Dutch Oven:
- Start by setting up your Dutch oven. Place it on a stable, heat-resistant surface, and prepare your campfire. You’ll want a good bed of hot coals for this recipe.
- Prepare the Pizza Dough:
- In a small bowl, combine the warm water, sugar, and yeast. Let it sit for about 5-10 minutes until it becomes frothy, indicating that the yeast is activated.
- Mix the Dough:
- In a large mixing bowl, combine the all-purpose flour and salt. Pour in the yeast mixture and olive oil. Mix until a dough forms.
- Knead the Dough:
- Turn the dough out onto a floured surface and knead it for about 5-7 minutes, or until it becomes smooth and elastic. If the dough is too sticky, you can add a bit more flour.
- Let the Dough Rise:
- Place the dough in a greased bowl, cover it with a clean cloth, and let it rise in a warm place for about 1-2 hours, or until it has doubled in size.
- Preheat the Dutch Oven:
- While the dough is rising, preheat your Dutch oven by placing it over the campfire to heat it thoroughly.
- Roll Out the Dough:
- Once the dough has doubled in size, punch it down and roll it out into a circle that’s roughly the size of your Dutch oven. You may want to line the bottom of the Dutch oven with parchment paper to prevent sticking.
- Assemble Your Pizza:
- Carefully transfer the rolled-out dough to the bottom of the hot Dutch oven. Spread the pizza sauce evenly over the dough, leaving a small border for the crust. Sprinkle on the mozzarella cheese and add your favorite pizza toppings.
- Cover and Cook:
- Place the lid on the Dutch oven. Arrange hot coals on top of the lid and underneath. Bake for about 20-25 minutes or until the pizza crust is golden brown, the cheese is bubbly, and the toppings are cooked.
- Serve and Enjoy:
- Carefully remove the Dutch oven from the coals and let it cool for a few minutes. Slice the Dutch Oven Pizza into wedges and serve it hot.
Dinner Delicacies
Dutch Oven Pot Roast
There’s nothing quite like the tender and flavorful pot roast cooked in a Dutch oven. Learn how to achieve the perfect roast even in the great outdoors.
Campfire Jambalaya
Transport your taste buds to the bayous of Louisiana with our campfire jambalaya recipe. It’s a spicy, satisfying dish with a delightful burst of flavors.
Sweet Campfire Endings
Dutch Oven Apple Cobbler
Ingredients:
For the Filling:
- 6-8 medium-sized apples (peeled, cored, and sliced)
- 1/2 cup granulated sugar
- 1 teaspoon ground cinnamon
- 1/4 teaspoon ground nutmeg
- 2 tablespoons lemon juice
- 2 tablespoons cornstarch
For the Cobbler Topping:
- 1 cup all-purpose flour
- 1/4 cup granulated sugar
- 1 teaspoon baking powder
- 1/4 teaspoon salt
- 1/2 cup unsalted butter (cold and cubed)
- 1/4 cup boiling water
Instructions:
- Prepare Your Dutch Oven:
- Start by setting up your Dutch oven. Place it on a stable, heat-resistant surface, and prepare your campfire. You’ll want a good bed of hot coals for this recipe.
- Prepare the Filling:
- In a bowl, combine the sliced apples, granulated sugar, ground cinnamon, ground nutmeg, lemon juice, and cornstarch. Toss the ingredients together until the apples are well coated.
- Layer the Apple Mixture:
- Transfer the apple mixture to the bottom of the preheated Dutch oven, spreading it out evenly.
- Make the Cobbler Topping:
- In another bowl, whisk together the all-purpose flour, granulated sugar, baking powder, and salt. Add the cubed cold butter, and using a pastry cutter or your fingers, work the butter into the dry ingredients until the mixture resembles coarse crumbs.
- Add the Boiling Water:
- Pour the boiling water into the flour and butter mixture and stir until a thick batter forms.
- Drop the Cobbler Batter:
- Drop spoonfuls of the cobbler batter evenly over the apple filling in the Dutch oven.
- Cover and Cook:
- Place the lid on the Dutch oven. Arrange some hot coals on top of the lid, and others underneath. This will create an oven-like environment. The cobbler should bake for about 30-40 minutes or until the topping is golden brown, and the apple filling is bubbling.
- Serve and Enjoy:
- Carefully remove the Dutch oven from the coals and let it cool for a few minutes. Scoop out generous servings of the warm Dutch Oven Apple Cobbler. It’s delicious on its own, but you can also add a dollop of whipped cream or a scoop of vanilla ice cream for an extra treat.
S’mores Dip
S’mores are a camping classic, but we’ve taken it up a notch with a gooey, chocolatey s’mores dip that’s perfect for sharing.
Conclusion
Dutch oven cooking is a true art, and with the right recipes and techniques, you can create culinary masterpieces right at your campsite. The versatility of a Dutch oven allows you to prepare a wide range of dishes, from hearty breakfasts to delectable desserts. So, the next time you’re out in the great outdoors, consider bringing your Dutch oven and trying out these campfire recipes. Your fellow campers will thank you!